
Cross Point Tutorial
Cross Point Tutorial
Hello! Today I bring you a very easy and cute tutorial. The cross stitch is a "granny" handicraft that, like the macrame, turned to be a trend.
We will need:
- Rack (size of choice
- Spray paint
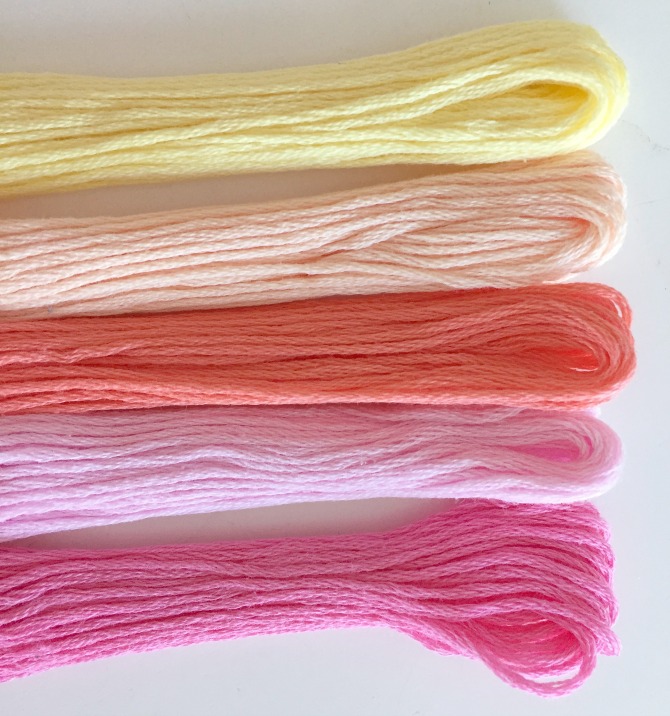
- Embroidery thread, needle and scissors
- Washi Tape or paper tape
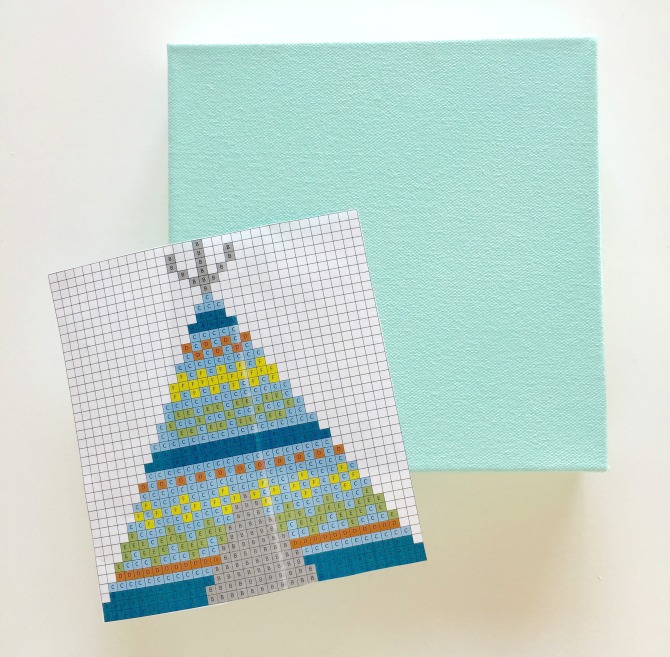
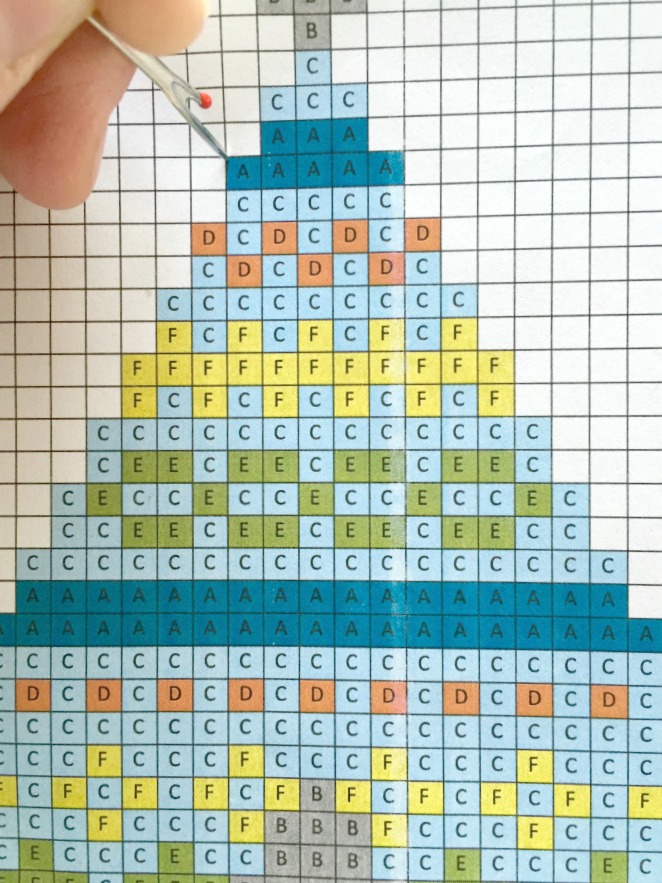
- Cross stitch pattern printed in size according to the frame
- Awl (?) or thick needle
To begin with let's paint our frame with spray, I forgot to photograph this step :(
We let it dry.
Then we will choose our cross stitch pattern to print in. There are thousands on Pinterest !! We can look for them as "cross stitch" or as "cross stitch" (There is always more when we search in English.) Most are free (the one we choose for example) and there are also some payments on Etsy that are very cute.
mo, there is also a page where we can upload an image and transform it into a cross stitch pattern! It sounds great, does not it? I still have not tried it. You can see it here.
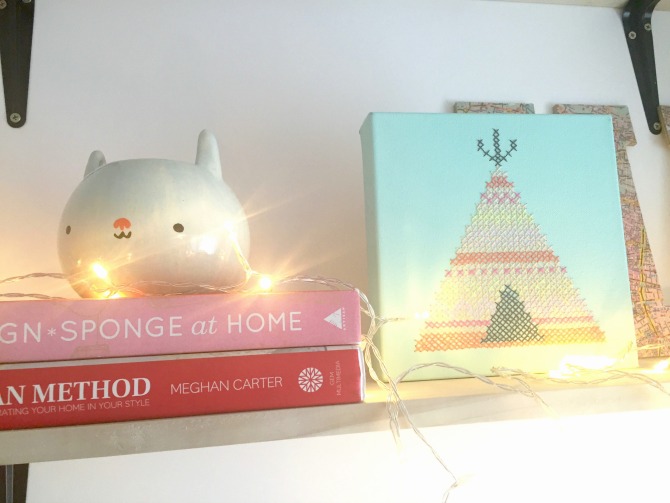
If you want to make a teepee like ours, you can find it here. On the same page there are two other divine patterns as well.
You have to print the pattern of a similar size to the frame. I had to try several times until I left I'm really bad configuring the printer haha .
Let's attach the centered pattern to the frame with paper tape or washi tape.
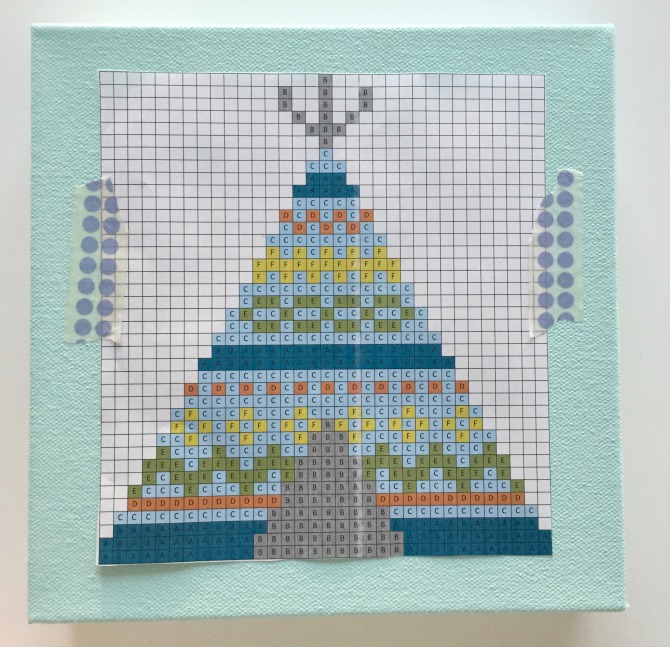
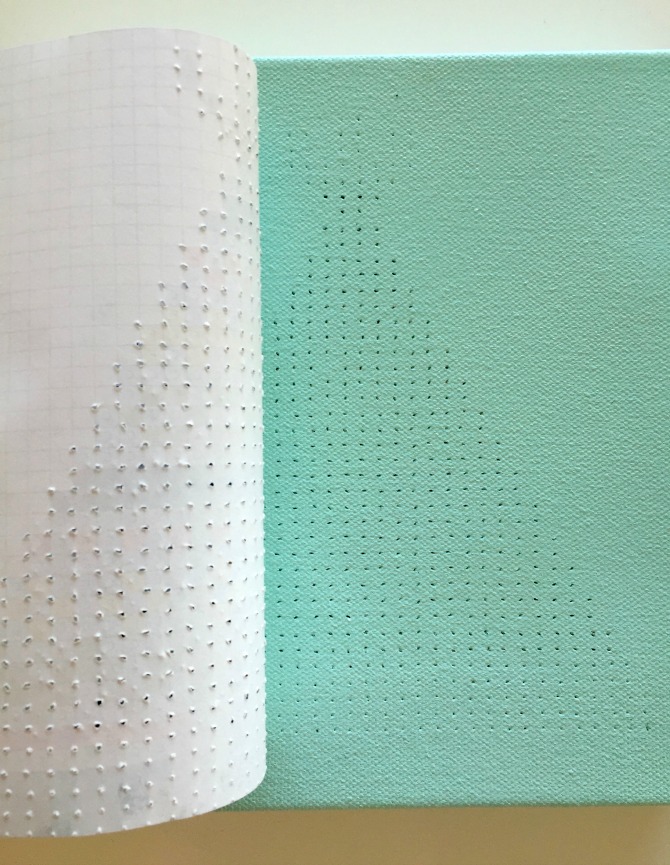
Once this is done, with the help of our punch (does this word exist?) thick needle or a short thread as seen in the bottom photo, we will mark the vertices of all the squares of the pattern to "transfer" it to the frame.
We should have something like that ...
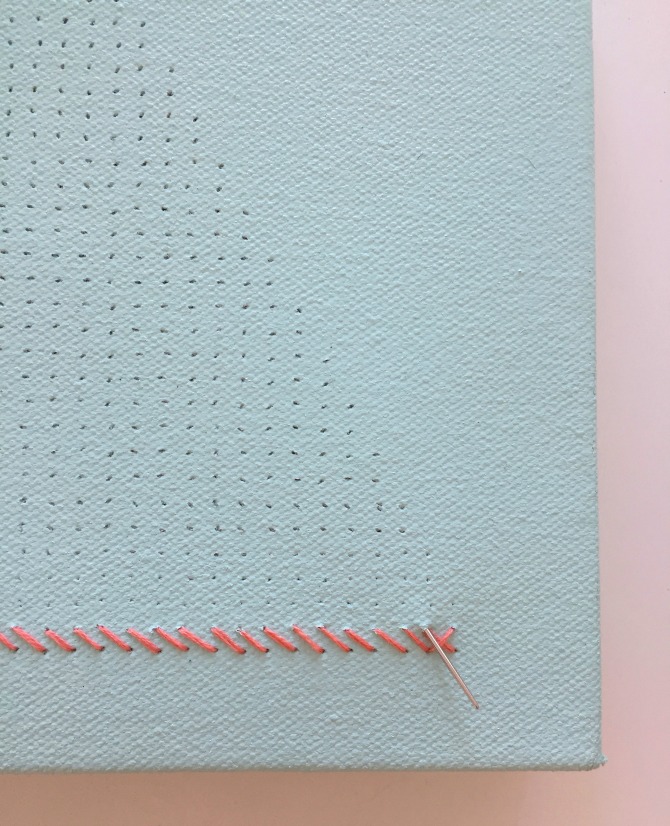
The next and last The first step is to choose the threads and start embroidering!
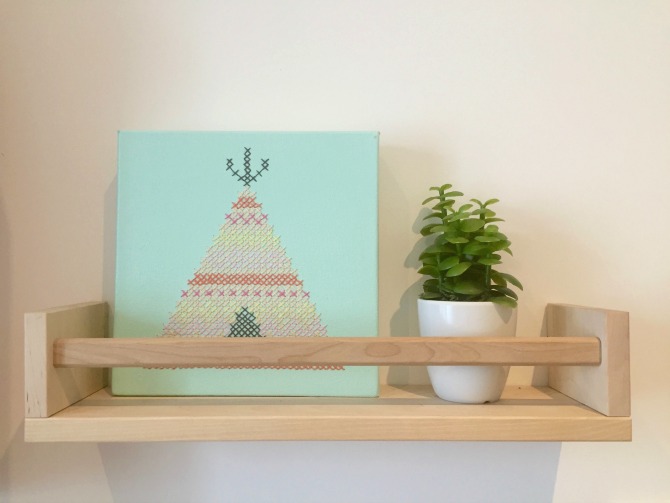
That's it! I liked the result so much, that I put it on a shelf in my desk.
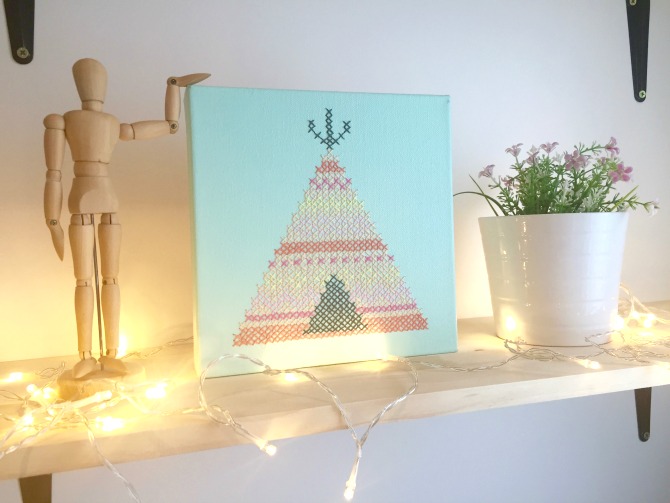
I hope you liked it! Until next Monday!

